Installation Guide for H Type Layer Poultry Cages
Welcome to Livi Machinery’s installation guide for H Type Layer Poultry Cages. We are here to assist poultry farmers in setting up their layer cage systems efficiently and effectively. Follow these steps to ensure proper installation.

Installation Guide for H Type Layer Poultry Cages
1. Cage Frame and Mesh Installation
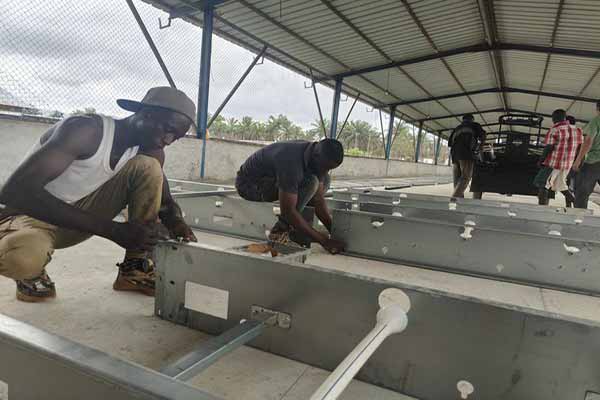
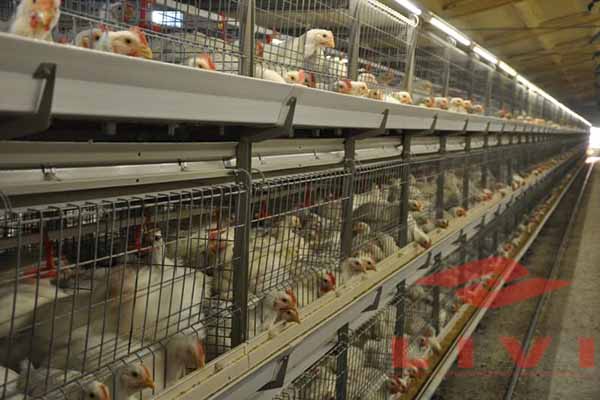
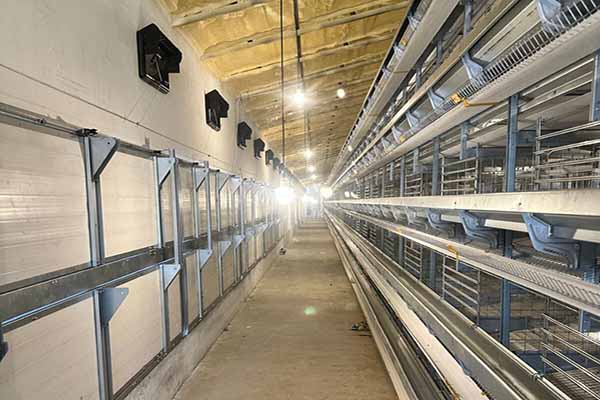
Start by assembling the cage frame. Ensure all supporting structures are firmly connected. After the frame is set, install the wire mesh cages by attaching them securely to the frame. Ensure that all bolts are tightly fastened to prevent any movement.
2. Feeding Trough Installation
Next, attach the feeding troughs to the front of the cages. These should be evenly placed across all tiers for easy access. Ensure the trough is stable and has no sharp edges to avoid injuries to the birds.
3. Watering System Setup
Install the automatic drinking system, usually consisting of water pipes and nipple drinkers. Ensure the drinkers are evenly spaced and functioning properly to provide water to all cages.
4. Waste Collection and Egg Conveyor Installation
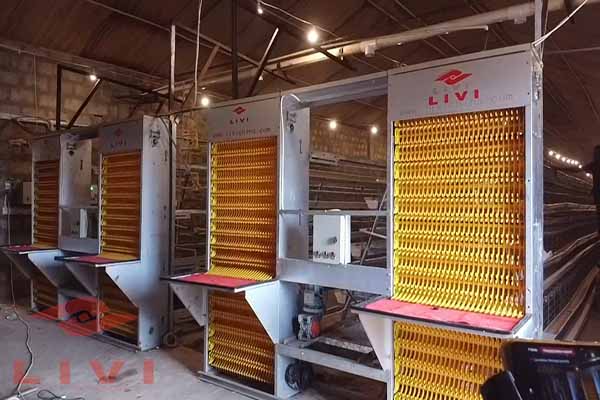
Install the manure removal belts beneath each cage tier. Connect the egg conveyor system to easily collect eggs. Ensure that both systems are operational and aligned for efficiency.
5. Final Check
After installation, do a thorough inspection of all components. Test the feeders, drinkers, egg collection, and manure removal systems to confirm everything is working correctly.
For a detailed visual guide, check out our installation video.
Installation Video Of H Type Layer Farming Cage
For further assistance, feel free to contact Livi Machinery!


